Pages

Showing posts with label January 2012. Show all posts

Sunday, 15 January 2012

January Card Challenge - Crafty Ribbons

Welcome to the January Card Challenge.


Our sponsor for this month's challenge is Ali from Craft Ribbons.

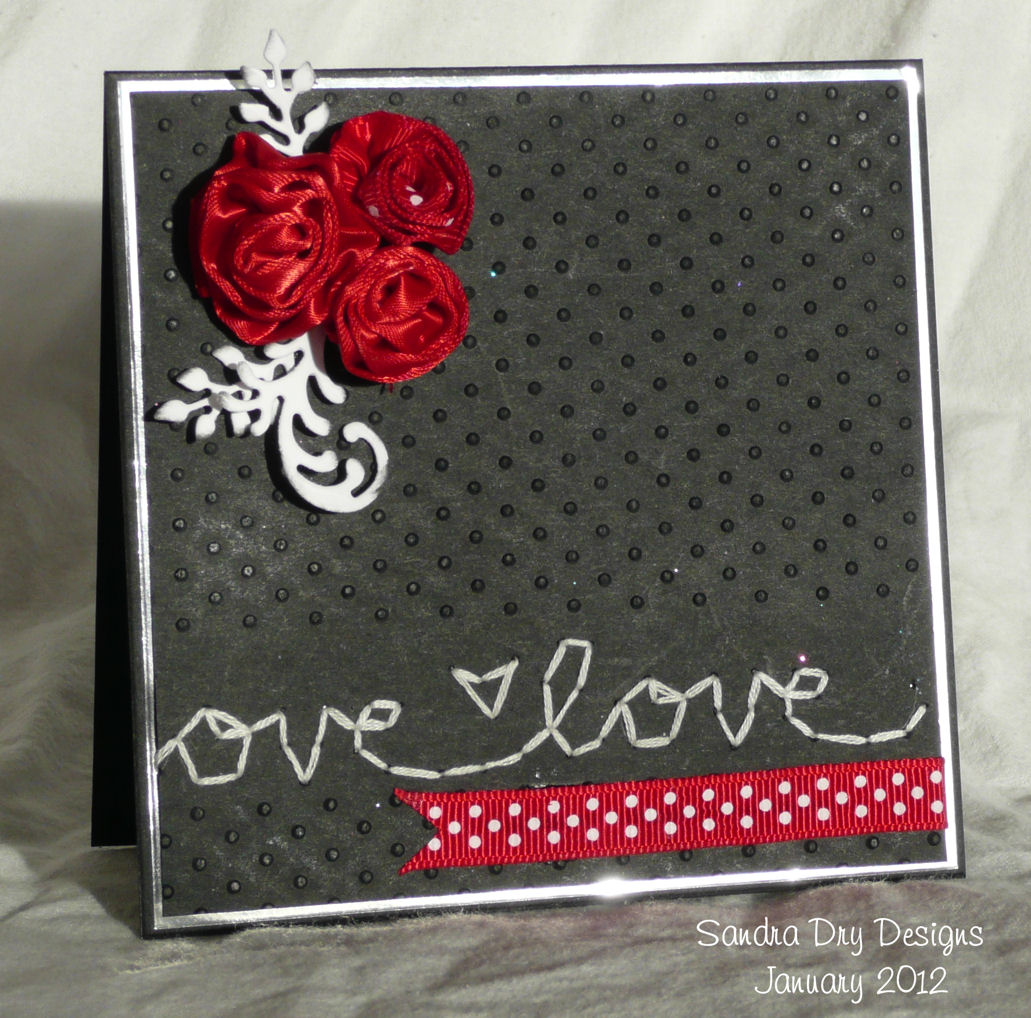
The challenge is - Say it with Ribbons - create a 'Love Is...' card .... an ideal theme as Valentine's day falls next month at the end of this challenge.

Here are the DT's cards please click on the names to visit their blogs:

LINDA


Our Guest designer:

Ali has offered a prize of the 'Love Is...' set of all 16 ribbons featured by the DT.
The prize is available to UK residents only.


Please comment with a link yo your blog entry or email an image using the address in the sidebar.
Looking forward to seeing your cards.
Our thanks to Ali and Carin.

Tuesday, 10 January 2012

How I Made My January Page


This is the double page I made for the 'T is for Texture' January challenge. I used photos of my family from Christmas 1998. Because the colours were so mixed I changed them all to sepia before printing them out.

This month we are scraplifting a layout by Stacey Hansen, called Life's a highway, from September 2011 Creating Keepsakes Magazine. We are challenging you to use lots of texture (or lumpy bits), make a double layout and lots of photographs.


Left hand page

Right hand page 

I used:
2 sheets Red Bazzill cardstock
1 sheet Leapfrog Bazzill cardstock
1 sheet Salt Dotted Swiss Bazzill Cardstock
QuicKuts dies - Poinsettia, treelights, Lucy Alphabet
Creative Memories Large Circle Template


The patterned papers are American Crafts Christmas Dear Lizzy collection, Twinkling Tree, Gracious Gifts, Garland Greetings and Poinsettia and Pine.


Here is what I did:
Use the two pieces of red cardstock as a base for the double layout.

Cut two pieces of diagonal red white and green stripe, 4" x 12", use TT FUNdamental Postage Stamp template to draw pattern along the top of both pieces, just to mark where to cut, then using a small 5/8" circle punch cut notches in place.  Stick these to each piece of red about 2" up from the bottom so the pattern runs right across both pages, leave top unstuck to allow for tucking circle and bracket in place later.

Use a medium sized 'Swanky Frame' TT FUNdamental shape as a template. With Leapfrog cardstock cut half a frame following the outside edge of this shape. Cut a piece from holly paper using the inner frame as a guide. Mount the holly paper on top of the green, and tuck this under the diagonal striped paper on the right side of the layout to the right of this piece, about 3" down from the top. Trim where this overlaps the side of the layout.
Cut about 3/4 of a circle using the outer edge of the CM template and the fine stripe paper. Cut the inner circle from the dotted Swiss cardstock. Mount white over stripe and cut down the centre. Mount half of this shape on each side of the layout so they meet in the middle. See sketch for placement, but this is also about 3" down from the top. This is also tucked under the diagonal striped paper, and all is stuck down. (However I wanted a little spare red cardstock for making flowers, so I gutted some from under where the circle is going to sit before sticking all down for this purpose!).

I ran a wide red grosgrain ribbon with a white stitch effect across the bottom of the diagonal striped paper, then added a 5mm green satin ribbon on top of this, with a green bow to the left side of the left page.

I matted all my photos in white and arranged them across the layout as in the sketch (roughly).

Then I dusted off the QuicKutz, which has been neglected since I acquired my Cricut!  I got busy and cut 16 poinsettia petals and 16 leaves, arranging these in pairs to make 8 flowers. I curved the petals with the scissor blade and attached each pair together with a gold brad, these were added to the layout with a 3D foam pad. The leaves were added later, 2 to each flower. Then I cut lots of small tree bulbs and arranged in a garland along the top of the layout, each of these is raised on a tiny piece of 3D foam too.

Next I cut my title using Leapfrog cardstock and the Lucy Alphabet dies. I arranged these letters inside the white circle.

Thanks for looking.
If you want more details of this layout please see my blog.
For more details of this challenge please go back to the post titled 'T is for Texture' of 01/01/12 on this blog.

Friday, 6 January 2012

Your Scraplifts for January

Our first entry for the January 'T' is for Testure challenge this adorable layout from:

KATHY G

JACKIE

SHARON O

SCRAPPY SARAH

KATHY B

SCATTYCHICK

SCATTYCHICK 

MINI OWNER

KRAFTY KAREN

Looking forward to receiving more entries as the month goes on.
Please see the original challenge post for details.

Sunday, 1 January 2012

T is for Texture

This month we are challenging you to use texture on your layouts, while scraplifting this fun double layout by Stacey Hansen.
So to take part, use embossing, raised shapes, ribbons, brads, chipboard, fabrics - whatever you like to add lumpy bits to you page.
We found this layout in 'Bonus Sketches' in 'Creating Keepsakes' Magazine (September 2011 issue).


Stacey says about herself - "I am Stacey Hansen. A craft-tographer. That is right, pick a cake and I will decorate it, pick a wall and I will paint it, pick an embellishment and I will glue it down. Pick a craft and I will give it a whirl and then take pictures of the process. That is how I became a scrapbooker. My life in pictures, telling a story and what a fun filled story it is to tell. I am a wife of one amazing man, a mom of six adorable kiddos, and a friend to many. I am an Adoptive parent, Foster Parent, Biological Parent, Boo Boo Healer, Band Aid Administrator, with an official title of "MOM". I started scrapbooking before I really even knew other people scrapbooked too. About 16 years ago I had fun shaped scissors, crazy coloured markers, and my hobby began. That hobby became a passion and now I couldn't imagine doing it any other way. So many memories to be made, so many pictures to be taken, so many pages in the making."

Here is the sketch we modified slightly to fit in with our 'Scrapology' style!

Here are the design teams layouts for inspiration. Please click on the names to visit the members own blogs.
As these are double layouts they are best viewed in more detail on individual blogs.


Our Guest this month is CARIN see her blog HERE - Life Love &Scrap


PRIZE TIME Jill of Cardinal Colours is offering a super prize again this month


This month it's one of each sheet of Bazzill Two Scoops - extra-special, 12×12, premium cardstock - not only does each sheet have a delicious sounding name, but offers two colours in one sheet.


This prize is a sheet of all 32 flavours including: Cherries Jubilee, Raspberry Parfait, Strawberry Cheesecake, Tutti Fruiti, Orange Sorbet, Irish Mint, Mountain Blackberry, Tin Roof, S’mores, Rocky Road, Cookies and Cream and more! I can't decide which is my favourite?
Two Scoops can be used as it is, or the second colour (shown along the strip with the bar code) can be revealed to create colour combinations that look delicious together. Try ripping or sanding to expose the colour underneath.


Bazzill have even added a choice of “sprinkles” on top. There are three simple, embossed textures to choose from, so pick your favourite: Dots, Flowers, or Cathedral Window.


For a chance to win a sheet of every colour in the Two Scoops line, make a double layout, using the sketch shown at the top of this post and use lots of texture in your work. Comment with a link to the post on they blog where your layout is featured or email us a photo (address in sidebar). Thanks and we hope you have fun with this challenge.

Our grateful thanks to Jill, Stacey, Carin and the whole DT.

HAPPY NEW YEAR!