Pages

Showing posts with label buttons. Show all posts

Wednesday, 18 April 2012

How I made my April Layout II - Little Miss

Me!


This month we have scraplifted this beautiful layout by BettyLou1 and the theme is to use lace of any kind on your layout.


This was our sketch

For this DT layout Basic Grey 'Hello Luscious' collection

inviting

raspberry syrup

simply grand


Cut the Raspberry Suryp paper until it was about 11"x11", distress and ink the edges and mounting centrally ont the Bazzill.

Cut three strips from Simply Grand paper 1.5"x10", and three strips from the vanilla side of Inviting 1.75"x10.25".  Distress and ink the edges of al six strips, mount the coloured strips centrally onto the vanilla strips. Arrange these strips vertically on the layout about 0.5" apart.

Cut some 6" circular shapes - I used my Cricut and the Striaght from the Nest cartridge and cut the lacy shape from pink Bazzill and the shadow from cream Bazzill. Ink both shapes and layer the pink on the cream and position to the right of the layout as shown.

Make a mount for one corner or the photo from cream Bazzill and trim with Martha Stewart round the page punch in a lacy style. Distress and ink the edges of the photo and stick to mount. Ink edges of mount and stick mounted photo to layout, leavng the very bottom unstuck, for trimming later.

Cut a strip from grid side of Invitng 10.5"x 3. Distress and ink then trim along the bottom long edge with antique style lace. Mount acoss the bottom of the layout about 2" up from the bottom, tucking under the photo. Stick the velvet ric-rac along the length of this strip, over the photo and tuckig the ends under the paper at either end.

Tie a bow with a piece of sheer organza ribbon to the right side of velvet strip.

Decorate the big circles with a selection of flowers from. Add buttons to the centre of these flowers stitching in place with DMC thread, tie in a knot at the front of each button. decorate further with loops of narrow satin ribbon and a wired crystal spray.

Add a small title by printing onto vanilla side of patterned paper and punch with oval SU punch. ink and layer onto another scrap of patterned paper punched using the SU scalloped oval punch, ink and attach with 3D foam pads to top left of photo.


Thanks for looking and reading, hope you will take part in this challenge. Pop back to the April challenge entitled 'L is for Lace' or to my blog for more details.

Thursday, 9 June 2011

How I made my June Challenge Page

You Three Are Two


Here is more about how I made my DT layout for this month's challenge. The technique is machine stitching and we scraplifted Cindy Tobey's layout called 'Sweet'.


This is our sketch

The photos I scrapped are of our great nieces and nephew (triplets), Hannah, Lucy and Oliver on their second birthday.

I used these 4 papers from Cosmo Cricket's Pixie-licious collection, giving me 8 patterns to play with. These can be purchased from Paper Maze:

Brownie Bands

Fairywings

Butterfly Kisses

and Blooming Babies


I cut and placed the background papers onto a sheet of plain 12x12" paper. Cutting the pieces as follows:

A purple dotty side of Butterfly Kisses 12x1" for the very top of the page.

Another purple dotty strip of Butterfly Kisses 12x3" for the very bottom of the page.

A piece of green flowery pattern from the Fairy wings paper 12x6.5"

and a band of the striped side of Brownie Bands (with stripes vertical) 12x3", then trimmed with a Martha Stewart border punch. This piece overlaps the bottom purple paper.

I added a 12x0.5" strip of purple Bazzill along the top of the brownie bands paper.

All the cut edges were inked with purple chalk ink.

The next step was to use the sewing machine and sew along the strips just inside the joins. I used cream sewing thread.

Then I cut a very large number '2' on the Cricut from the dotted green side of the Blooming Babies paper. This was mounted on a shadow of Cream Puff Bazzill. I stitched round the edge of the green number.

I mounted the 4x6" photo onto cream puff cardstock and added two lines of stitching along all four sides.

I cut a 4" scalloped circle using the 'Straight from the Nest' Cricut Cartridge and flower 4 and mounted a circular photo onto this, stitching round the edge of the photo.

I cut a 2.5" scalloped circle in purple cardstock, and mounted a small circular photo onto this.

Then I cut various size flourishes in cream and purple to arrange on the page as shown.

Once all this was stuck in place I added buttons and gems. Lettering was added with tiny letter stickers from My Little Shoebox, these were left over from my May challenge page.

You may have noticed that Linda and I used the same papers, but came up with different layouts. She has blogged how she made her layout soon. (the white daisies are to protect the child's identity.)


Thank for looking, hope it's useful.

Sunday, 22 May 2011

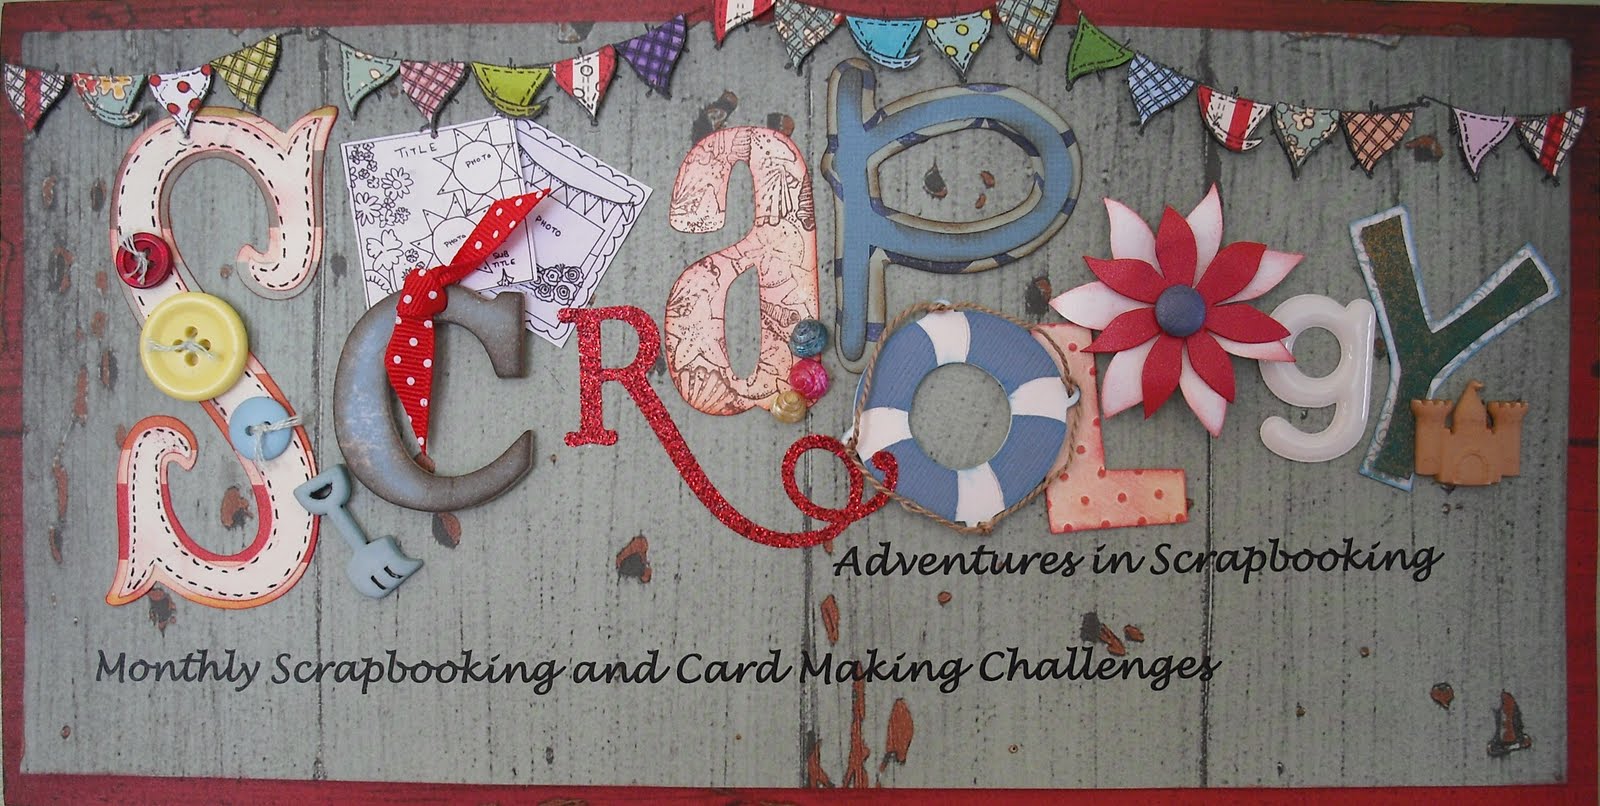
Our New Blog Header

Good morning crafty bloggers!

Hope you like the new header we have added to this blog. It was made with as many different products and techniques as possible. We hope that this reflects what this challenge blog is about - encouraging you to try out lots of new ideas and products by learning new techniques and introducing you to different designers each month.


Thought I would identify the different bits and pieces for you here, both for information and a bit of fun.


How about a bit of Eye Spy?


You should be able to see:
October Afternoon papers, sketches, Cricut die cuts, hand-drawn stitches, buttons, hand stitching. ribbon, dry embossing, rubber stamping, colouring with promarkers, PSX stamps, shells, Glossy Accents, dimension, layering, distressing, Craftwork Cards products, Candi, Glimmer Mists, glitter, inking, bunting and more.


Had great fun making this, hope you like it!
TFL x